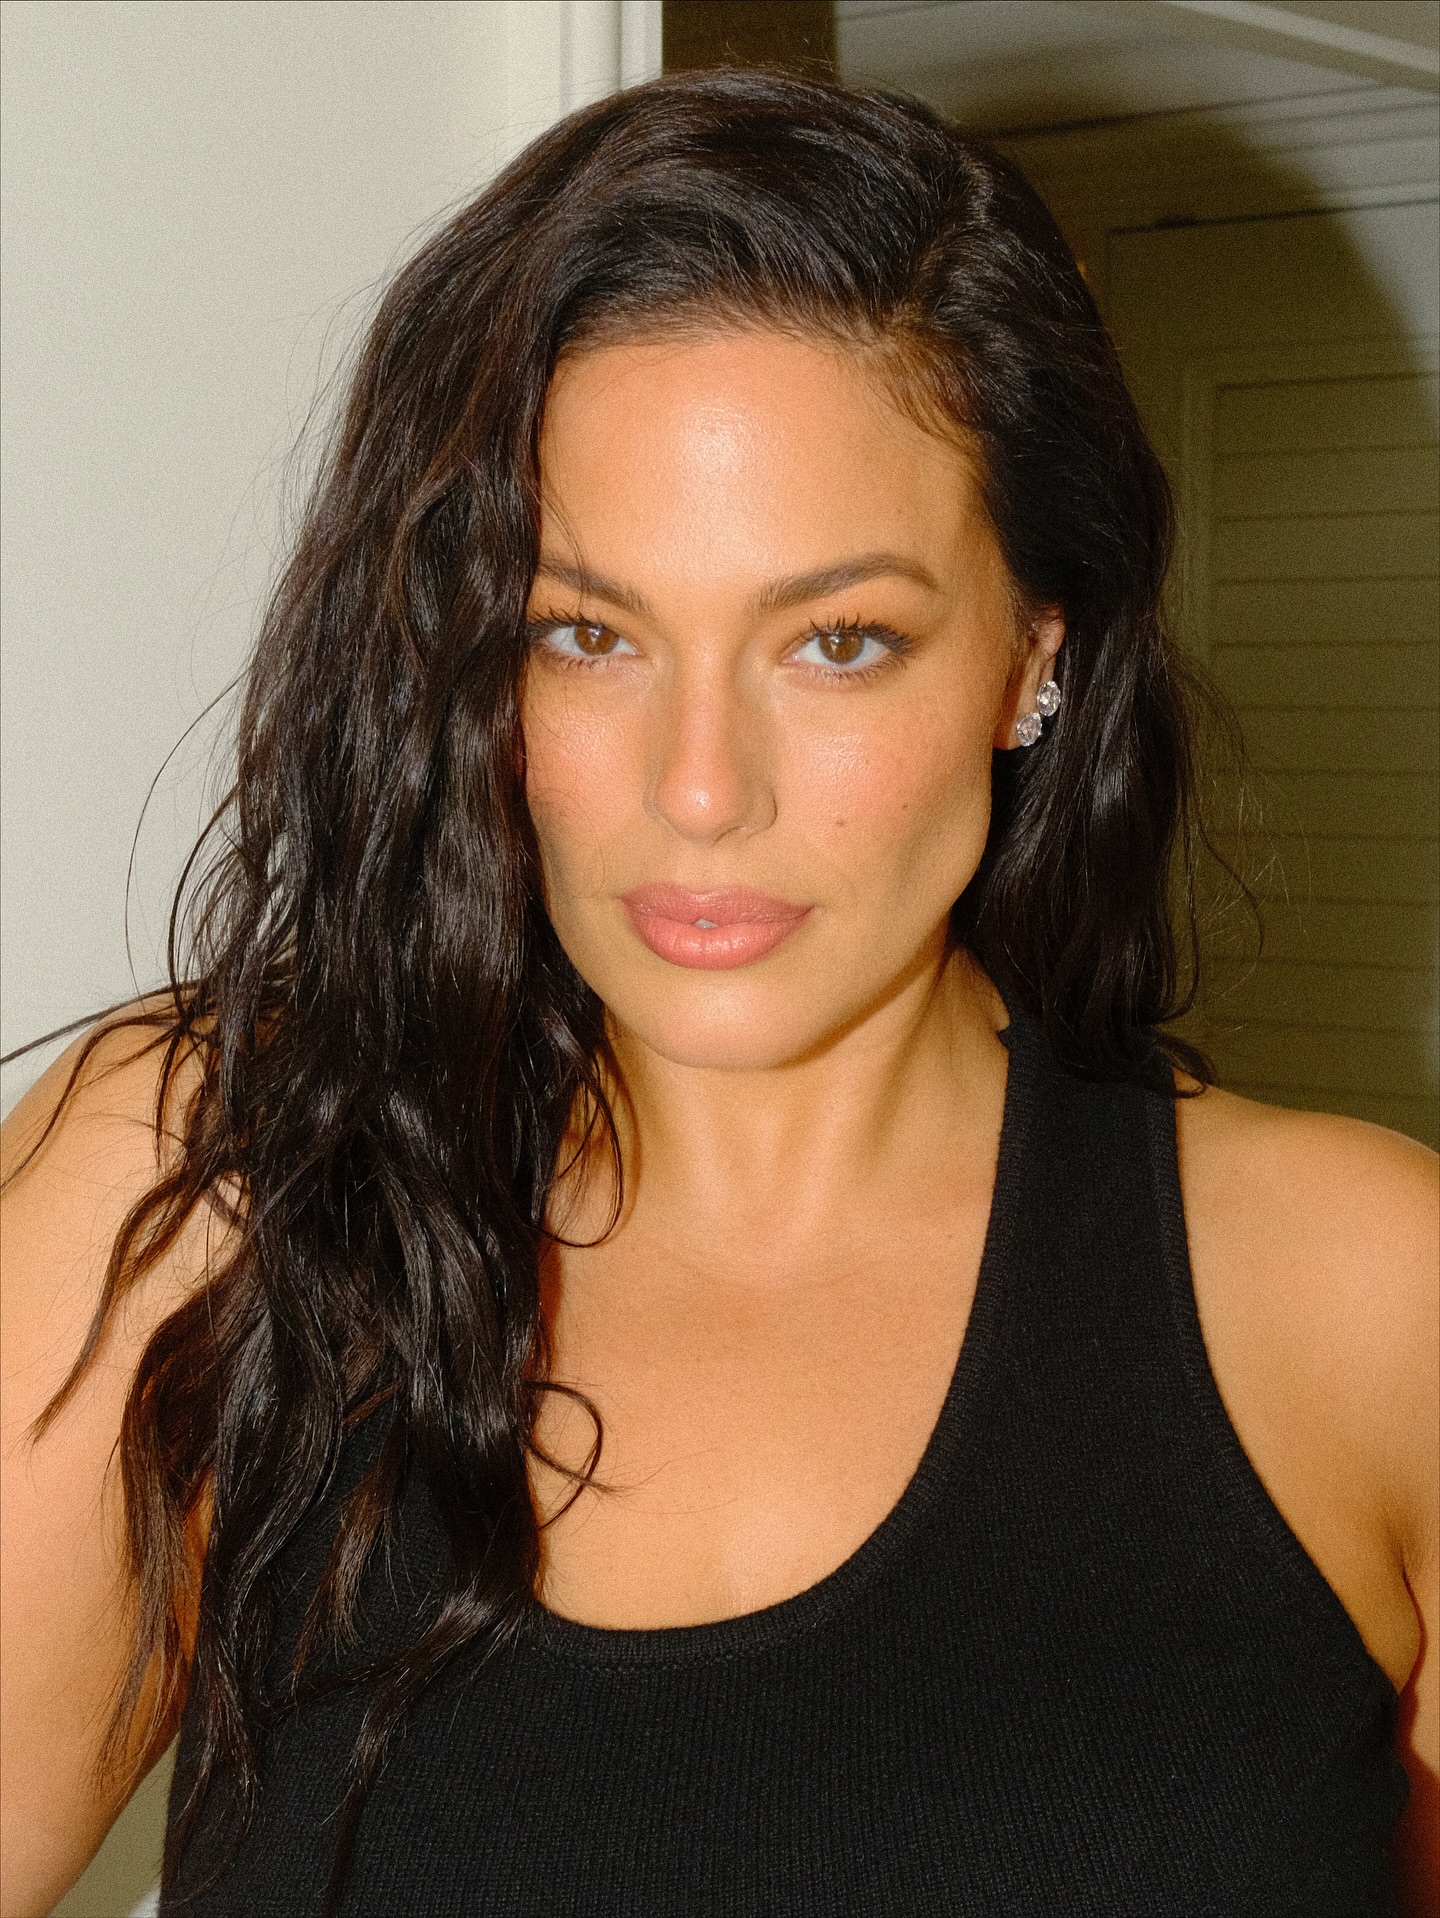
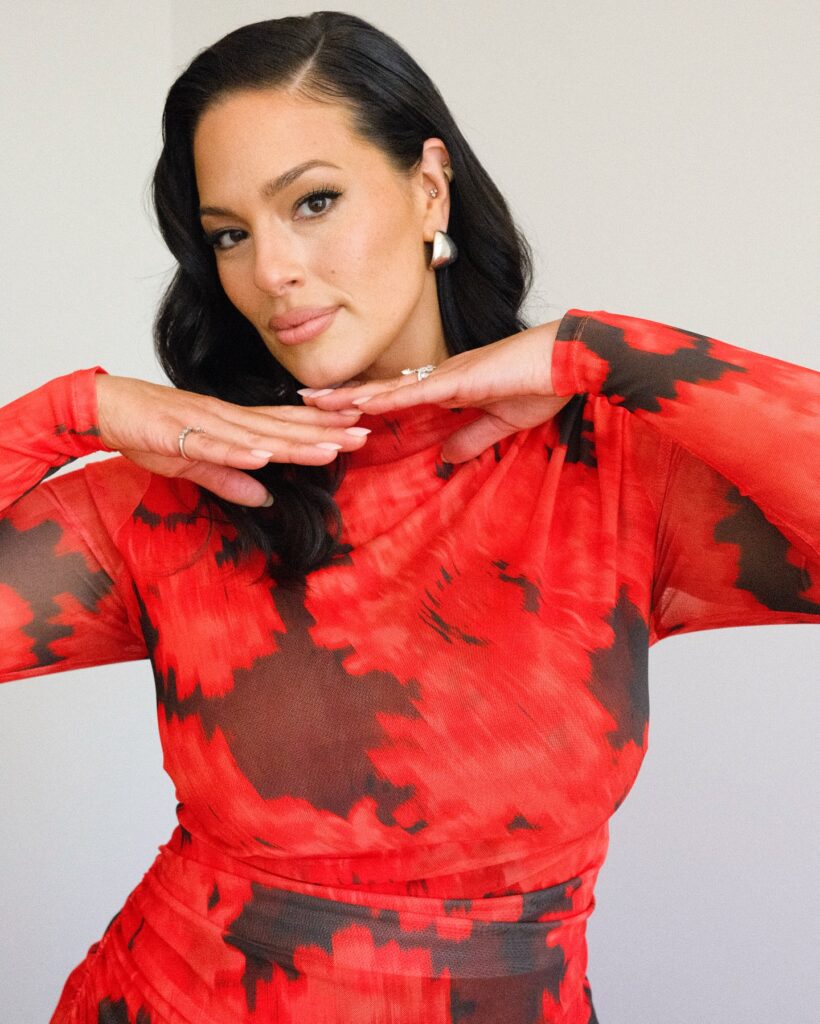
Supermodel and body-positivity icon Ashley Graham surprised everyone when she revealed that Ashley Graham colored her own hair — completely at home, without a trip to the salon. In a world where celebrity beauty routines usually involve expensive stylists and long appointments, Ashley proved that confidence, style, and stunning results can come straight from a box of hair dye.
She proudly showed off her rich brunette look that perfectly matched her complexion and natural shine. But what made it even more impressive was that she did it all herself — using an easy, at-home color kit that anyone can buy and apply.
This article dives deep into everything about Ashley Graham’s DIY hair transformation — from her product choice and exact shade to the step-by-step coloring process, hair-type tips, and aftercare routine. If you’ve ever wondered how to achieve salon-worthy hair color at home, this complete guide will teach you exactly how Ashley did it and how you can do it too.
Ashley Graham’s Hair Transformation Story
Ashley has always been known for her glossy brown locks, but like many women, she wanted a refresh that made her hair feel healthy, vibrant, and easy to manage.
Instead of booking a stylist, she decided to take the DIY route and color her hair herself. She chose Revlon ColorSilk, one of the most trusted at-home hair dye brands, known for its Bond Repair Complex and ammonia-free formula.
Her shade of choice? Dark Brown (Shade 30) — a rich, warm brunette that enhances natural tones and adds luminous shine.
The result was stunning. Her color looked even, glossy, and professional. Many fans couldn’t believe it was done at home. That’s the beauty of modern box dyes — when used correctly, they can rival salon results at a fraction of the cost.

Why Ashley Colored Her Own Hair
Ashley’s decision to color her hair herself wasn’t just about saving time or money — it was about self-care and empowerment.
As a busy mom of three and one of the most photographed women in the world, she wanted a beauty routine that was flexible and easy to manage at home. Coloring her own hair allowed her to maintain her look on her own schedule, without relying on salon appointments.
She also mentioned that her hair had changed after pregnancy — becoming more delicate and needing extra care. Using a gentle formula like Revlon ColorSilk helped her keep her hair healthy while still achieving vibrant color.
Her at-home coloring sessions became more than a beauty task — they turned into a ritual of self-confidence and self-expression.
What Product She Used — And Why It Works
Ashley used Revlon ColorSilk — a product specifically designed for at-home use. What sets it apart is its conditioning formula and the inclusion of Bond Repair Complex, which strengthens and nourishes the hair while coloring.
Key Features of the Dye
- Ammonia-Free Formula: Gentle on hair and scalp, minimizing dryness and breakage.
- Bond Repair Complex: Helps repair damaged bonds inside the hair, keeping it strong and smooth.
- Rich Pigments: Provides long-lasting, salon-quality color with multidimensional shine.
- Affordable & Accessible: Costs under $10, making it perfect for anyone looking for a budget-friendly option.
Her shade — Dark Brown (30) — is a universally flattering tone that works for many skin tones, adds depth, and makes hair look fuller and healthier.
How to Color Your Hair Like Ashley Graham (Step-by-Step)
Want to replicate Ashley’s look? Follow this easy guide for a salon-worthy finish from the comfort of your home.
You’ll Need
- One box of Revlon ColorSilk in Dark Brown (Shade 30)
- Plastic gloves
- Mixing bowl and brush (optional)
- Wide-tooth comb
- Sectioning clips
- Old towel or t-shirt
- Timer
- Post-color conditioner or mask
Step 1: Prepare Your Hair
Before you start coloring, make sure your hair is clean and dry. Avoid applying the dye right after washing — natural oils on your scalp help protect it from irritation.
Brush through your hair to remove tangles and section it into four parts — top left, top right, bottom left, bottom right — to ensure even application.
If your hair is dry or damaged, apply a nourishing mask the day before coloring. This helps the dye apply more evenly and reduces potential dryness afterward.
Step 2: Mix the Color
Open your box dye kit and follow the included instructions. Most kits come with two bottles: the colorant and the developer. Combine them as directed and shake until the mixture is smooth and consistent.
Put on your gloves to avoid staining your hands.
Step 3: Apply the Dye
Start by applying the dye to your roots — this is where regrowth and gray hairs show most. Work your way from the crown down, using a tint brush or the bottle applicator.
Once the roots are covered, pull the color through to the mid-lengths and ends using your fingers or a comb. Make sure every strand is saturated for an even finish.
If your hair is thick, work in smaller sections to avoid missing spots.
Step 4: Processing Time
Let the dye sit for 30–40 minutes, depending on how deep you want the color. Ashley mentioned that her total process took less than an hour — including prep and rinsing — so aim for a similar timeframe.
You can use this time to relax — put on your favorite playlist or do a quick skincare routine while your hair processes. Make it a moment of self-care!
Step 5: Rinse Thoroughly
Once time is up, rinse your hair with lukewarm water until the water runs clear. Avoid hot water, which can strip the color.
Apply the post-color conditioner included in your kit and leave it on for 3–5 minutes. This seals the cuticle, enhances shine, and adds moisture back into your hair.
Rinse again, towel-dry gently, and let your hair air-dry or style as desired.
Results: The Ashley Graham Glow
Once you’re done, you’ll notice a glossy, rich brunette tone with subtle warmth — a look that adds instant sophistication and shine.
Ashley’s at-home color looked just like it came from a professional salon — smooth, vibrant, and healthy. The Bond Repair Complex helped minimize damage, giving her that “fresh blowout” look without spending hours in a chair.
If your goal is to have hair that looks polished yet natural, this DIY approach delivers exactly that.
Tips for Different Hair Types
Every hair type reacts differently to dye. Here’s how to tailor Ashley’s method to your own texture or condition:
For Curly or Coarse Hair
- Divide your curls into smaller sections to ensure full coverage.
- Apply a bit more dye on thicker areas that tend to resist color.
- After rinsing, use a moisture-rich conditioner to keep curls bouncy.
For Fine or Thinning Hair
- Use a gentle touch when applying the dye to avoid tugging or breakage.
- Apply a strengthening serum after coloring.
- Stick with darker shades for fuller-looking hair.
For Gray Coverage
- Focus the dye first on the grayest sections and let it sit a few minutes longer there.
- Choose shades with warm undertones — they cover grays better and add vibrancy.
For Postpartum or Fragile Hair
- Pick ammonia-free formulas only.
- Do a strand test before full application.
- Avoid heat styling for at least three days after coloring.
What Competitors Don’t Tell You
Most celebrity hair-color stories stop at what brand or shade the star used. What’s often missing are the details that actually help you get the same results.
Here’s what makes this guide more complete:
- Practical step-by-step instructions anyone can follow.
- Custom tips for every hair type (fine, curly, gray, postpartum).
- Comparison of similar box dyes, so you’re not limited to one brand.
- After-care advice that keeps color vibrant and hair healthy.
- Troubleshooting tips for patchiness or fading.
By addressing these, this post gives readers real value — not just celebrity gossip.
Top Alternatives to Revlon ColorSilk
If you can’t find the exact product Ashley used, these alternatives offer similar results and care benefits.
| Product | Highlights | Ideal For |
|---|---|---|
| L’Oréal Excellence Crème | Built-in conditioner and gray coverage | Anyone wanting a glossy finish and full coverage |
| Clairol Nice’n Easy | Multi-tone pigments for natural look | First-time home color users |
| Garnier Nutrisse Ultra Color | Avocado and shea oils for softness | Dry or frizzy hair needing hydration |
| John Frieda Precision Foam Color | Mess-free foam application | Short or medium-length hair |
Each option delivers strong results when applied carefully. Always perform a patch test 24 hours before coloring.
How to Maintain Your Color
Beautiful hair doesn’t end when you rinse the dye out. The right after-care keeps your color glossy and prevents fading.
1. Use Color-Safe Shampoo
Pick a sulphate-free formula made for colored hair. These protect pigment and help your shade last longer.
2. Condition Regularly
Deep-condition once a week to restore hydration and prevent brittleness.
3. Limit Heat Styling
Blow-dryers and straighteners fade color faster. If you must use heat, always apply a heat-protectant spray.
4. Protect from Sunlight
UV rays can dull color quickly. Use a leave-in conditioner with UV filters or wear a hat when outdoors.
5. Refresh Every 6–8 Weeks
Ashley’s at-home dye schedule keeps her color consistent. Depending on your hair growth rate, plan touch-ups every 6–8 weeks, focusing mainly on roots.
Troubleshooting Common Issues
Patchy Color?
You might’ve missed spots during application. Section your hair carefully and ensure full saturation next time.
Too Dark or Too Warm?
If the shade turned out deeper than you expected, use a clarifying shampoo a few times to lighten it slightly.
Dryness After Coloring?
Follow up with hydrating masks and use argan or coconut oil overnight once a week.
Color Fading Quickly?
Avoid overwashing and stick to lukewarm or cool water.
Frequently Asked Questions
Q1. How long does box dye last?
Typically, about 6–8 weeks depending on your washing routine and exposure to heat or sunlight.
Q2. Can I color over already-dyed hair?
Yes, as long as the hair is healthy. For drastic color changes, consult a professional.
Q3. Is box dye safe for sensitive scalp or postpartum hair?
Choose ammonia-free and conditioning formulas. Always do a patch test before applying all over.
Q4. Will this shade work on everyone?
Dark Brown 30 is universally flattering for light to medium skin tones. For very fair or very dark complexions, adjust one shade lighter or deeper.
Q5. How can I make my color last longer?
Use gentle shampoo, avoid hot water, deep-condition weekly, and minimize sun or chlorine exposure.
Final Thoughts
Ashley Graham’s hair transformation proves that achieving a glossy, professional-looking color doesn’t require a salon visit. With the right product, patience, and a few smart techniques, you can refresh your hair color in under an hour — just like she did.
Her story inspires confidence in DIY beauty and reminds us that taking time for ourselves, even through something as simple as coloring our hair, can be powerful and uplifting.